If you want a place where your front-end can sit on the public web for free, here’s how to deploy it with Firebase Hosting.
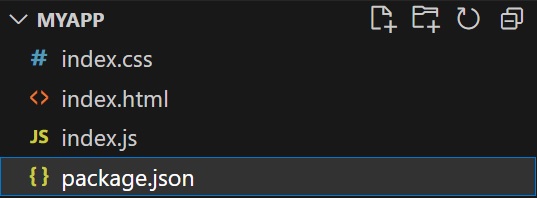
On your local machine, make a folder called MyApp and create three files:
- index.html
- index.css
- index.js
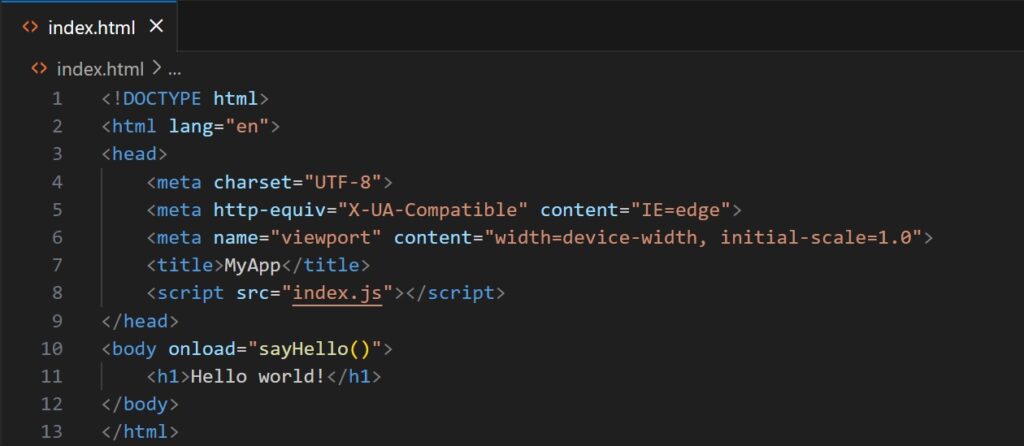
index.html:
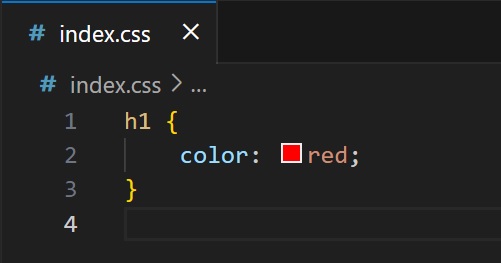
index.css:
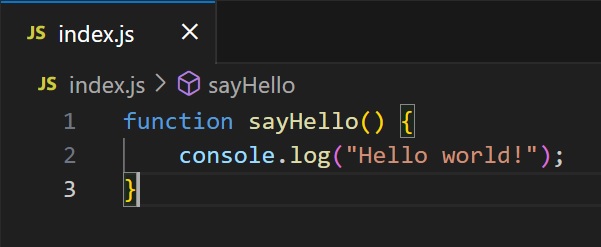
index.js:
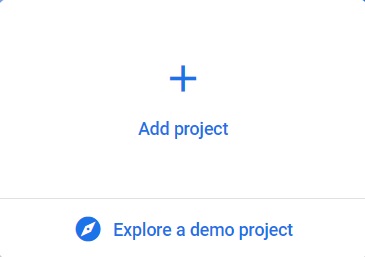
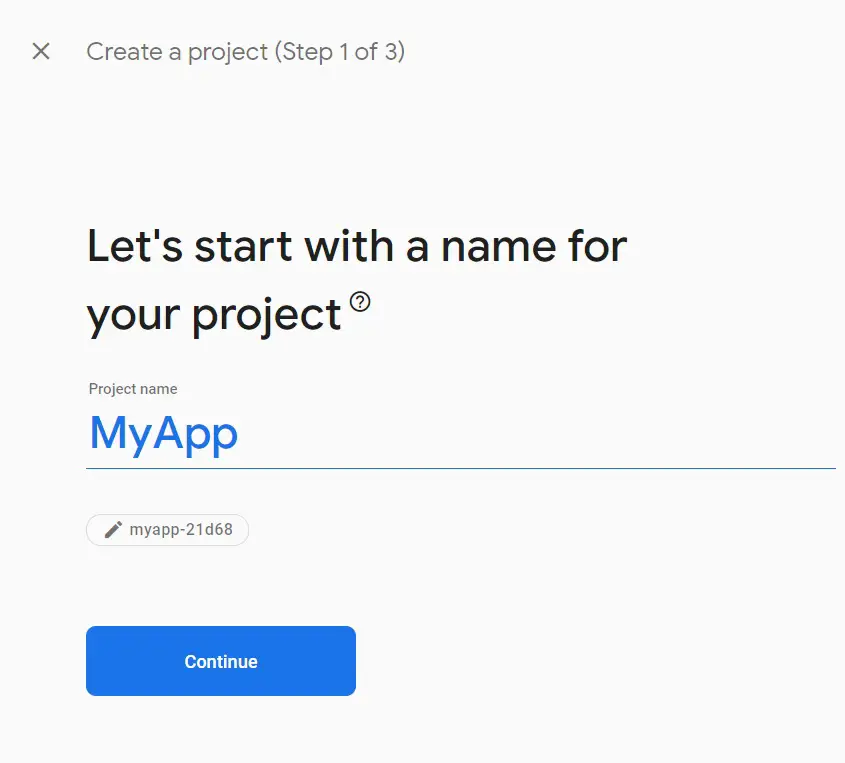
Visit Firebase Console (create a new Google account if not registered) and click Add project.
When the window opens, pick a name, county/region, and click Create project.
Set up Node.js for your app. Inside Visual Studio Code or your preferred IDE, open a Terminal in the root of your project folder and execute the following commands:
npm i
npm init
This will install Node and initialize a package.json in your project so you can set up modules.
To install cloud hosting on your project, open a Terminal in the root of the project folder and execute the following command:
npm install -g firebase-tools
Once the Node modules for Firebase are installed, you need to log in to the same Google account you used to create the project on the web Console. In Terminal, execute:
firebase login
Input the credentials for your Google account.
After logging in, you need to initialize a new Firebase app for the project. In Terminal, execute:
firebase init
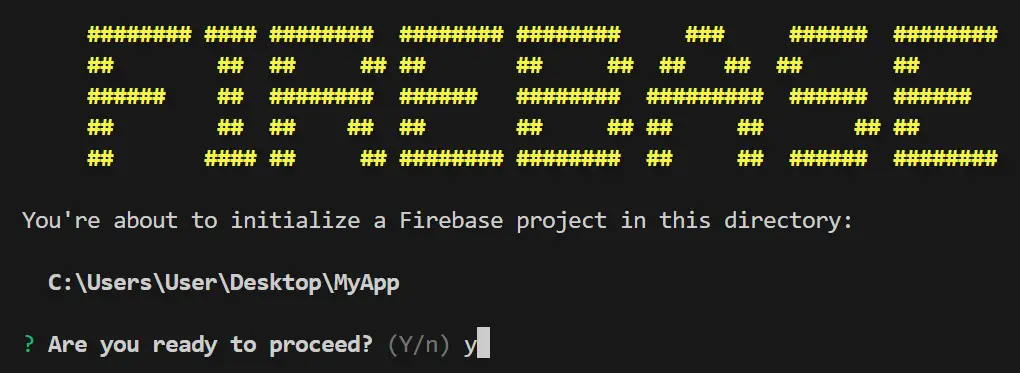
Firebase will prompt you to choose a product. Select Hosting, then:
Choose MyApp as the target project or the one you want to use.

If done correctly, this will add two files to your project:
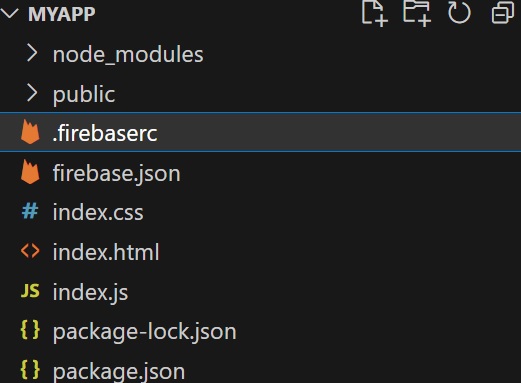
- .firebaserc: the cloud configuration file
- firebase.json: the publish configuration file
Inside the project, create a new folder called app and move all your front-end files (index.html, index.css, index.js) to it.
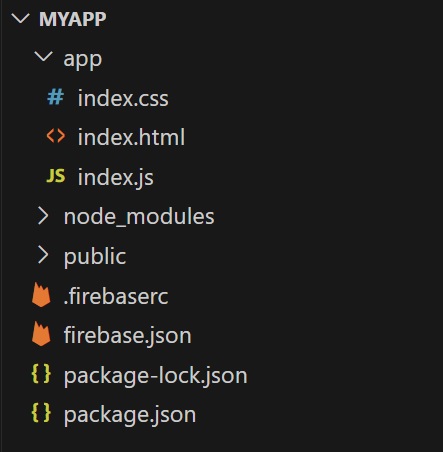
Open firebase.json and edit the name of the “public” folder to the one you want to publish. In this example, we change it to app.
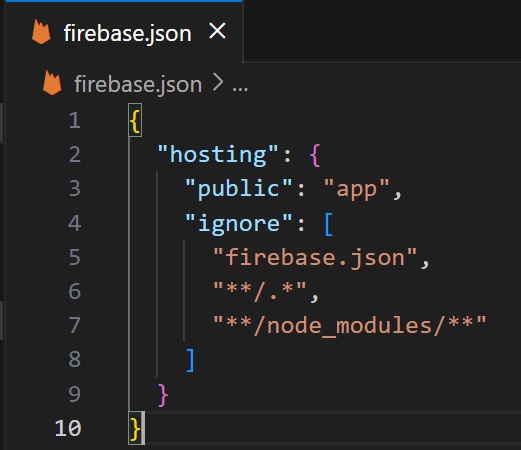
- hosting: the cloud service’s name
- public: the folder containing the assets to publish
- ignore: the files that will NOT be uploaded to the server
To publish your web application, open Terminal, and execute:
firebase deploy
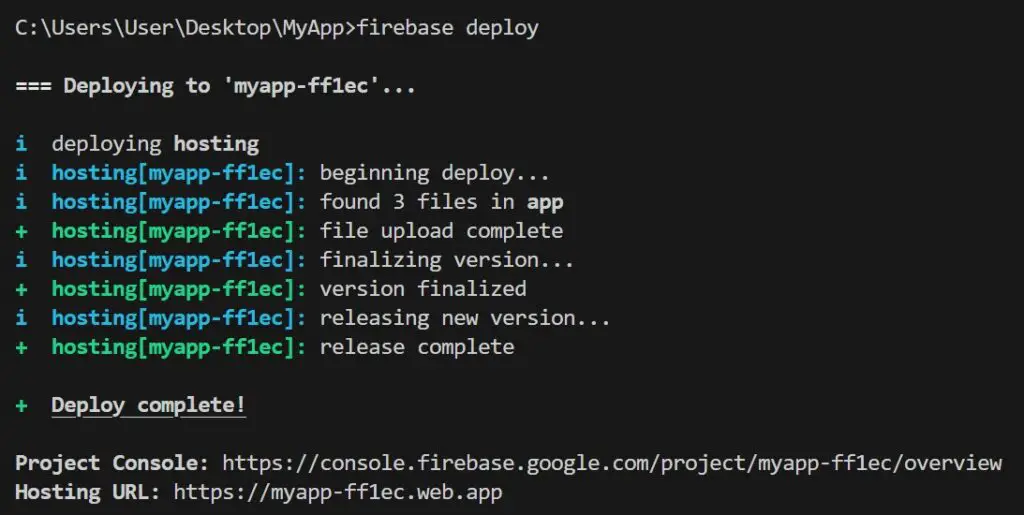
You will see a hosting URL and a link to the project in Firebase Console. The hosting URL is the public access point to your front-end.
- Read more: Making The Upgrade To Windows 11? Here’s How
Whenever you want to see changes to your front-end hosted on the public web, deploy your updates with the same command.

