Making The Upgrade To Windows 11? Here’s How

upgrade to windows 11

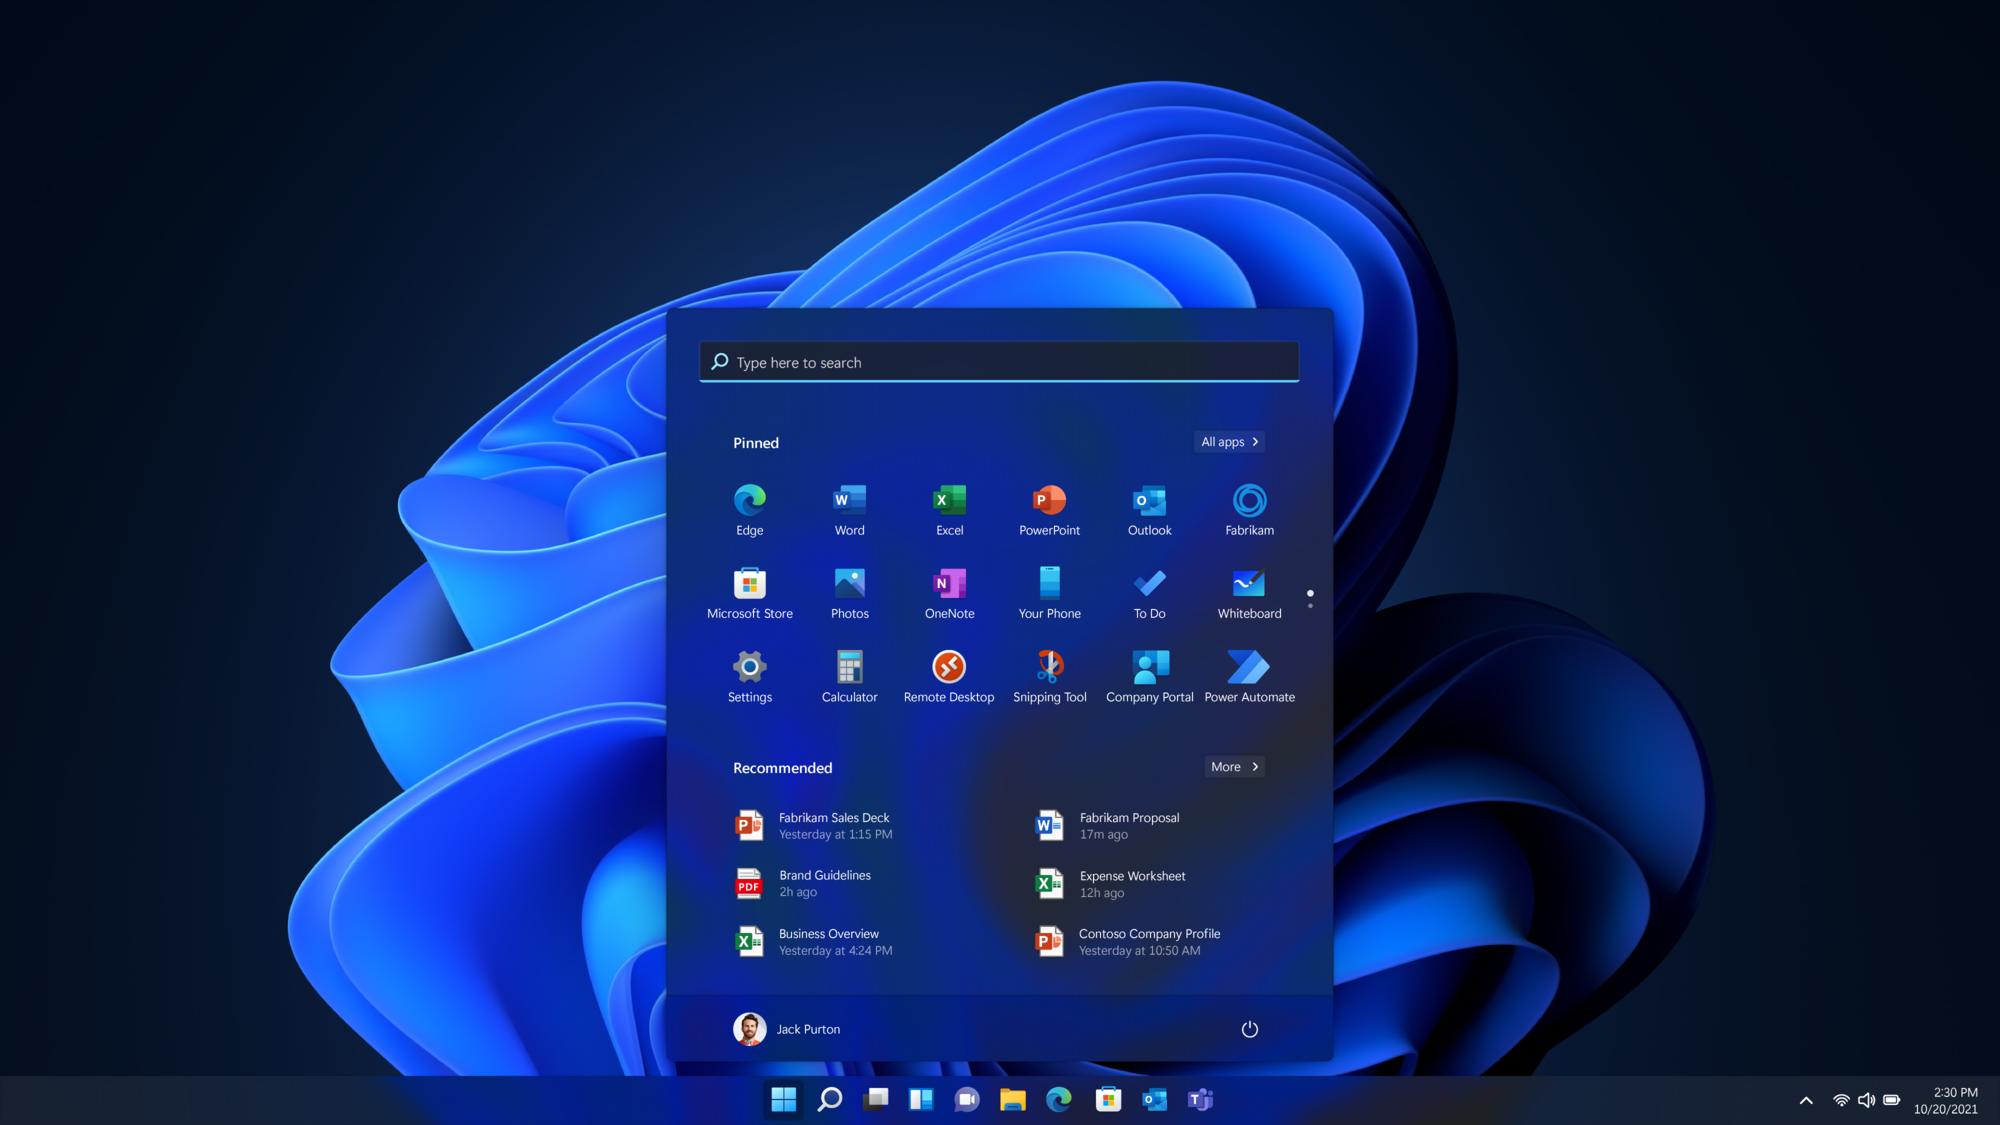
Years ago, we were promised that Windows 10 would be the final operating system (OS) introduced by Microsoft. A single framework that would run across an entire family of devices, with free updates forever into the future. That was quite short-lived, and the ability to upgrade to Windows 11 is here to prove it.

Truth be told, unlike past OSes, Windows 11 actually keeps the same foundation established by its predecessor. What it’s really doing underneath is providing a major improvement to low-level security and giving a facelift (albeit small) to certain applications and widgets.

We highly recommend using it over Windows 10, as you will not run into any performance issues with your current programs.

How do I upgrade to Windows 11?

This tutorial assumes that you are already running the previous version of Windows 10. If you don’t, that’s fine too, since most of the steps to make the upgrade are identical.

There are 2 ways to start the upgrade process to Windows 11. You can either download the official setup wizard directly from Microsoft’s website or upgrade from within Windows itself by using the Check for updates feature.

Using the Setup Wizard

We recommend using the wizard because it will scan your hardware and tell you ahead of time if your system is eligible. It also makes the process more thorough and gives you greater control over the settings.

windows 11 setup wizard

After meeting the hardware requirements, the wizard will continue. One of the first glaring items you may notice from this program is an error claiming that your system must support TPM 2.0 and Secure Boot. Fear not, as this likely means you’ll just need to enable them from the BIOS.

Enable TPM 2.0 and Secure Boot

Enabling TPM 2.0 and Secure Boot for your machine will require you to configure the BIOS. This is the low-level operating system that starts up before Windows or Linux, or macOS.

It’s a very simple procedure, and a modern BIOS will use a graphical user interface (GUI) like any other program you’d find on your computer.

To Enable TPM 2.0:

  1. Restart your PC.
  2. During boot up, keep hitting the F2 Key (or FN F2) on your keyboard to open the menu for the BIOS.
  3. Navigate to the tab labeled Security.
  4. Find a menu listing for either Intel Platform Trust Technology (IPTT), AMD CPU fTPM, or TPM.
  5. Ensure that it is toggled as “Enabled.”
  6. Save and exit the BIOS.

To Enable Secure Boot:

  1. Open the Start menu.
  2. Enter System Information.
  3. On the left side, click on System Summary.
  4. Check the information for “Secure Boot State”:
    • On – the feature is enabled.
    • Off – the feature is disabled or is not supported.
  5. Check the information for “BIOS Mode”:
    • UEFI – your system is eligible for Secure Boot.
    • Legacy (BIOS) – you will need further steps to enable the feature.
  6. Follow the same steps for enabling TPM 2.0 to open your BIOS.
  7. Navigate to the tab labeled Boot.
  8. Find a menu listing for Secure Boot.
  9. Ensure that it is toggled as “Enabled.”
  10. Save and exit the BIOS.

After you have successfully enabled TPM 2.0 and Secure Boot, start back up your machine. Navigate back to the Windows 11 setup wizard. Follow the rest of the instructions, making sure to preserve your data if you wish, and give it several hours to install.

Once finished, you’ll probably need to install several additional updates which will require you to restart your multiple times. Then say hello to your new (and hopefully last) OS!

What are the features of Windows 11?

Windows 11 vastly improves security across the board for your system. It also includes full native integration with Android apps, better support for Virtual Desktop, and some gaming enhancements.

Design

Windows 11 introduces an interface more comparable in aesthetic to Mac computers. Here, users will find pastel shades and rounded corners across all screens.

By default, the Taskbar centers all the apps in the center, but this can be configured to align left like in Windows 10.

Native Android Apps

Android apps are now available through the Microsoft Store. This is a major feature that has been requested by many Windows users for years and proves that mobile and desktop devices are becoming incomparable.

Superior Virtual Desktop Support

As masterfully demonstrated by Macs, Windows 11 now allows users to set up their virtual desktops in a similar fashion. It lets you toggle between various desktops at once for any purpose, be it work, school, gaming, or other personal uses.

Better Accessibility For Widgets

Even though they’ve existed for quite some time, you are now able to access Widgets directly from the Windows Taskbar and customize them as you see fit.

Improved Support For Touchscreens, Voice, and Pens

On tablets, Microsoft has been steadily fixing the touch experience, adding more space between taskbar icons and allowing gestures. Windows 11 takes this a step further by giving your digital pen haptic feedback, so you can feel and hear vibrations as you take notes or draw.

Lastly, you can now implement voice commands and typing across the system.

Leveled Up Gaming

Windows 11 will begin implementing functionality seen on Xbox consoles, including DirectStorage and Auto HDR to improve your PC gaming experience. This is yet another example of Microsoft attempting to integrate their console together with PCs.

Is it OK to upgrade to Windows 11 now?

As of 2022, many of the early bugs and issues from the original August 2021 release have been heavily patched, so it’s definitely safe to.

Plus, the Windows 11 free upgrade is still available for download. Eventually, Microsoft always ends up pulling support for previous OSes. We argue that now is as good of a time as ever!

System Requirements

There are some minimum system requirements that your hardware must meet before being eligible to fully install Windows 11. However, they’re not nearly as hefty as the mass media would like you to think they are.

  • Processor: 1 GHz with 2+ cores on a compatible System on a Chip (SoC) or 64-bit CPU.
  • RAM: 4 GB
  • Storage: 64 GB
  • System firmware / BIOS: Support for UEFI, Secure Boot, and Trusted Platform Module (TPM) version 2.0
  • Graphics card: Compatibility with DirectX 12 with a WDDM 2.0 enabled driver
  • Internet: Downloading and installing the Home edition of Windows 11 requires a Microsoft account and internet connectivity. This is also necessary for certain features as well as updates.

Does installing Windows 11 delete everything?

The upgrade to Windows 11 is designed to protect and keep all of your files exactly as they were when you had your previous OS.

Still, it’s always important to make sure you do a proper backup of your data using an external hard drive or cloud program.

Finally, you need to make sure that during the upgrade, you click the option that says “Keep personal files and apps”. This is to separate yourself from others who desire fresh installation on new or existing builds.

The Editors

The Daily Juice is an independent digital media platform covering a wide range of topics on all things otaku.

Recent Posts