If you need to learn how to take a screenshot on a computer, fear not. There are more ways than you think to accomplish this very simple task. However, the steps to success depend on your machine’s operating system. In this guide, we will cover taking screenshots on Windows 10/11 and macOS.
How to Take Screenshots on Windows 10/11
1. Print Screen button
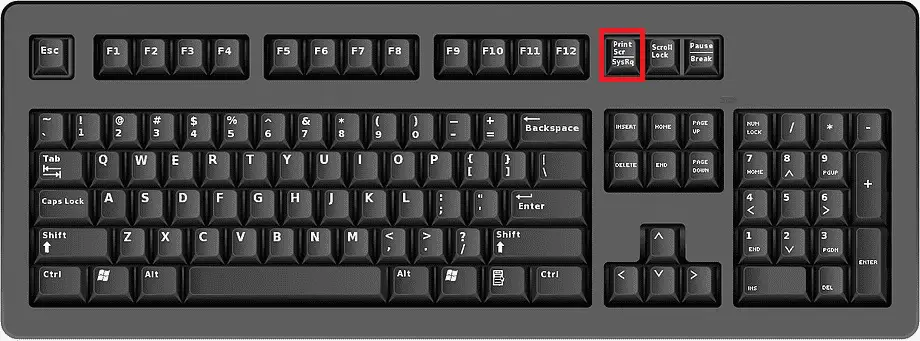
The easy way how to take a screenshot on a computer running Windows 10 or Windows 11 is to use the Print Screen (Prt Scrn) key on your keyboard. Using this method, you will capture your entire screen as it is at the time you are looking at it.
For Windows 10 devices, it adds the picture to your clipboard, which is the same tool you use to copy/paste. To save the file, simply paste the screenshot into a program that allows for the insertion of images, such as Paint or Microsoft Word.
For Windows 11 devices, it will save the picture to a dedicated folder named Screenshots on your computer. This is accessible from File Explorer and by selecting the Pictures subfolder. If you want to protect your data and take things a step further, you can even configure it to save directly to your OneDrive account.
2. Windows button + Print Screen key
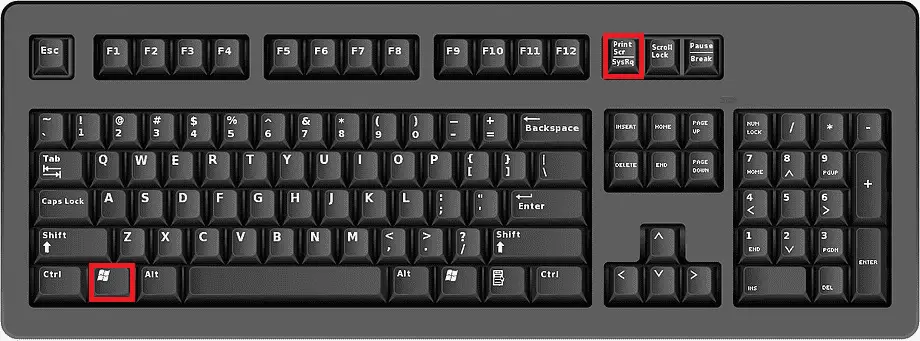
By pressing and holding the Windows button + Prt Scrn key on your keyboard at the same time, you will not only take a screenshot but automatically save it at the same time. This will make your screen dim, and a picture of your entire screen will be instantly added to the Screenshots folder.
From here, you can start pasting your picture onto social media posts, art portfolio applications, articles, and more!
3. Alt button + Print Screen key
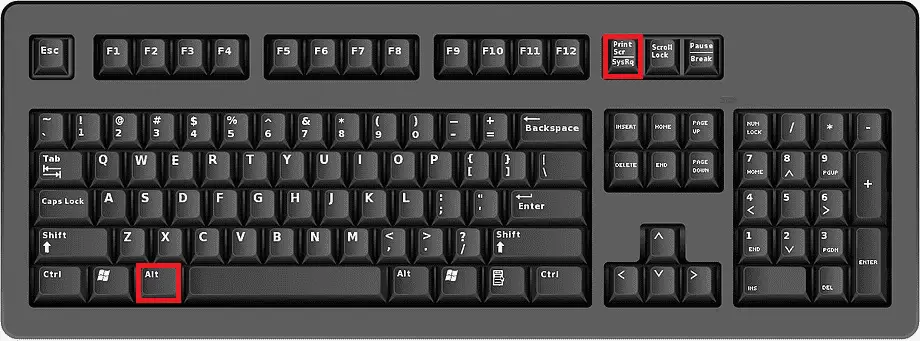
Pressing and holding the Alt button + Prt Scrn key on your keyboard will exclusively capture the active window you are working in. It will add the image to the clipboard, and you’ll simply need to paste it into a Paint or Microsoft Word file to save it.
4. Snipping Tool
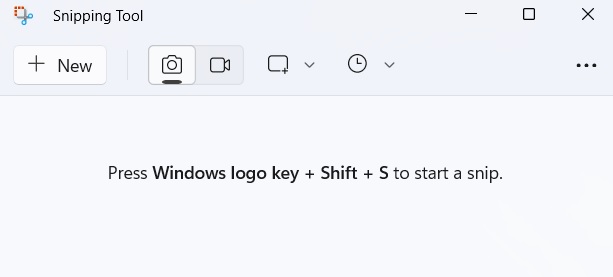
Windows has a dedicated Snipping Tool that allows you to not only capture an image but also annotate, crop, and share your screenshots.
To use the Snipping Tool, you can either find it by typing the name of the program into the Windows Search Bar or simply pressing Windows + Shift + S on your keyboard.
Your screen will automatically dim, and a small menu will appear at the highest part of the screen, providing you options to take windowed, rectangular (make a rectangle-boxed screenshot), free-form (draw any shape with the cursor), or full-screen (get a picture of the entire screen) captures.
After capturing, the image will be automatically added to your clipboard, and Windows will provide a notification that includes a preview in the bottom-right-hand corner of the screen. Click this notification to open the Snipping Tool application to edit, save, and share the picture with the available tools.
5. Xbox Game Bar
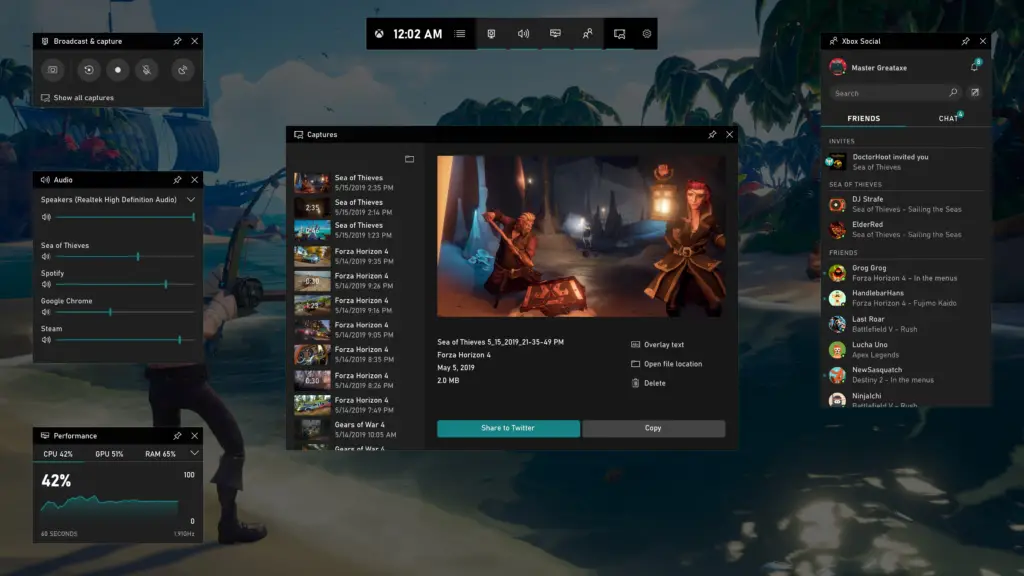
This is a free overlay that comes bundled with the Windows operating system and has support for most games and applications to take pictures and also record videos. Simply press Windows + G on your keyboard to open the Xbox Game Bar.
Inside the overlay menu, select the camera icon to begin capturing a full-screen image. By clicking the record button, you can also capture video clips as well as audio if you hit the microphone icon.
Everything you capture with the Xbox Game Bar is automatically saved as a PNG in the Videos > Captures folder. However, you can quickly navigate to this by clicking the Show All Captures button below the screenshot and recording icons in the overlay.
6. Volume Up + Power Button
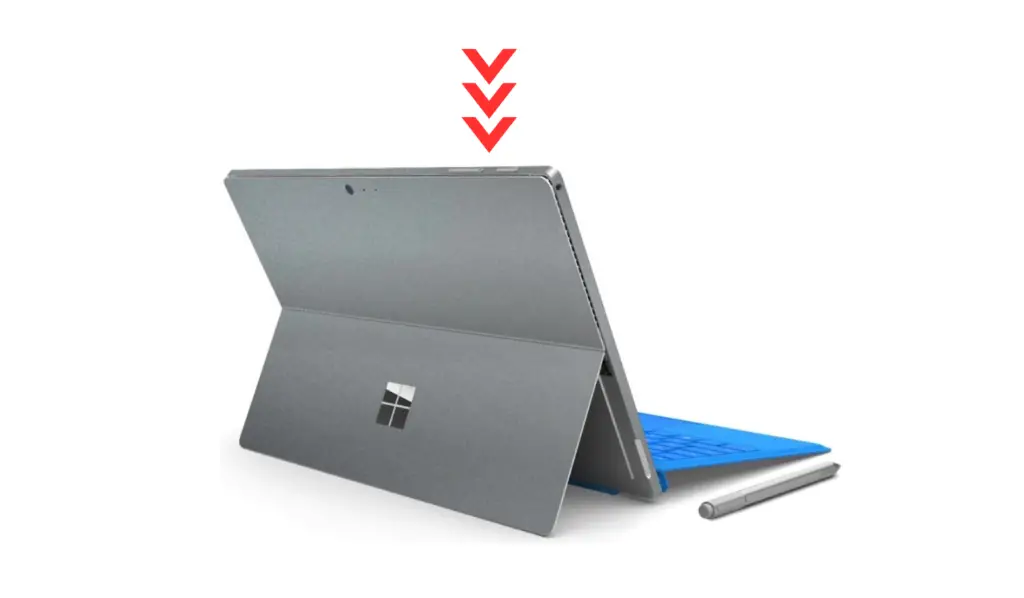
If you are using a Microsoft Surface tablet, simply press the Volume Up + Power Buttons at the same time. This dims the screen, and your screenshot is automatically saved to the folder inside of Pictures > Screenshots.
How to Take Screenshots on macOS
There are many ways to learn how to take a screenshot on a computer running macOS. Apple has a dedicated application called Screenshot to accomplish this, though you are able to use simple keyboard shortcuts to achieve the same objective. Below are all the methods.
Use Keyboard Shortcuts

You are able to make use of several keyboard shortcuts to take screenshots of your display. All captured files are saved to the desktop.
To copy screenshots to be pasted to a specific location, such as another device or to an email, press and hold down the Control key while pressing the other buttons.
- Capture the entire screen: Shift + Command (Cmd) + 3
- Capture a portion of the screen: Shift + Command (Cmd) + 4
- Capture the menu bar or a window: Shift + Command (Cmd) + 4
- Capture a menu/items on the menu: Shift + Command (Cmd) + 4
- Open Screenshot app: Shift + Command (Cmd) + 5
- Capture the Touch Bar: Shift + Command (Cmd) + 6
You are able to customize these shortcuts in System Preferences. Screenshots get saved in PNG format, while screen recordings get saved in MOV format.
Fair warning, certain applications, such as DVD Player, may block the user’s ability to take screenshots.

